A common need in web mapping is displaying images in the feature popups, or provide links to online resources such as PDFs, documents, spreadsheets and so on. This enhances the usefulness and contextuality of maps, allowing you to have photos of dealerships or location photos of work request, or links to feature-specific documents such as tax records, floor plans, approval letters.
We’ve recommended Dropbox and Google Drive for this in the past, but the challenge with both of these services is that neither offer static URL paths in folders. They’re fine for a storing a dozen images for a map, or a few documents to link to, but if you've got hundreds or thousands of documents the task of getting URL paths for your dataset becomes painfully laborious.
If you have the luxury of being able to host the resources on your own website, you're in luck, and the later steps below describing how to insert your file URLs in your dataset will be useful. If not, we recommend using Amazon’s Simple Storage Service (S3). It's a perfect solution for this task as it offers customizable, static URL paths which make dealing with large number of linked resources much, much simpler.
However, for the uninitiated, setting up AWS S3 buckets can appear rather daunting. This tutorial will run you through setting up an S3 bucket of your own to host map resources.
In this tutorial, we’re going to host images, but you could use S3 buckets for any file you want to make available in your map - PDFs, documents, audio files, images, really anything.
Gather your tools
To complete this tutorial you’ll need:
- A desktop browser
Completing the tutorial on mobile will be tricky, so I recommend you do this on a desktop or laptop. - A CSV dataset with lat/lon coordinates
Download the sample dataset below - Your Mango account
If you don’t have one, sign up here for a complimentary 30 day trial
Download the sample data and images
Let’s get started!
Step 1: Sign up for an AWS account
First things first, if you don’t already have an AWS account, sign up for an account here.
The AWS sign up process requires a credit card, but the services we’ll use in this tutorial fall under their Free Tier, which offers 5 GB of Standard Storage free for the first year.
After the free period, S3 storage is charged at $0.023 per GB / Month for the first 50 TB, which is basically free, and Up to 1 GB of data transfer (eg. your images being loaded) per month. Learn more about the AWS Free Tier here.
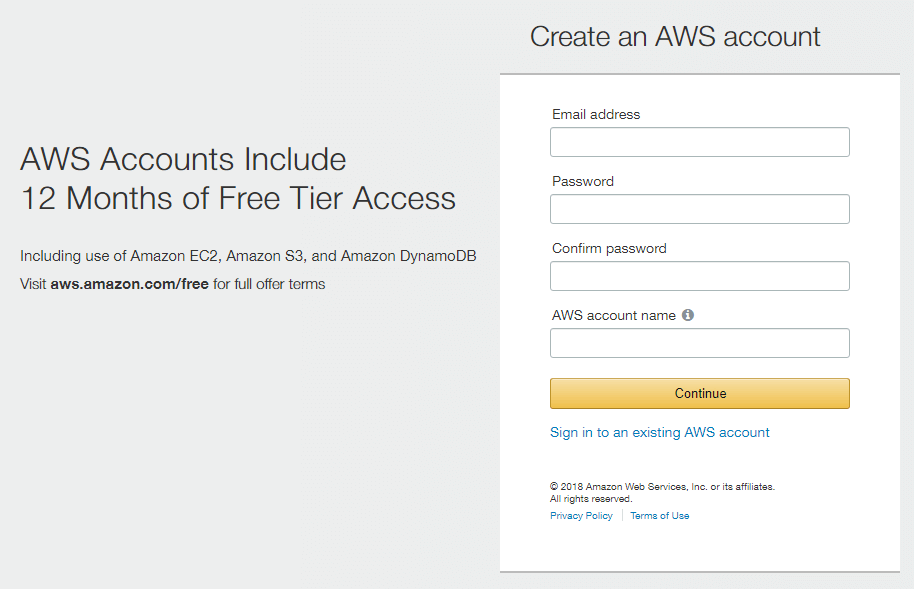
Once you’ve entered your particulars, you will be asked to select the plan that’s right for you. For this tutorial, we’re using the free Basic Plan.

You’ll then be dropped into the AWS dashboard.
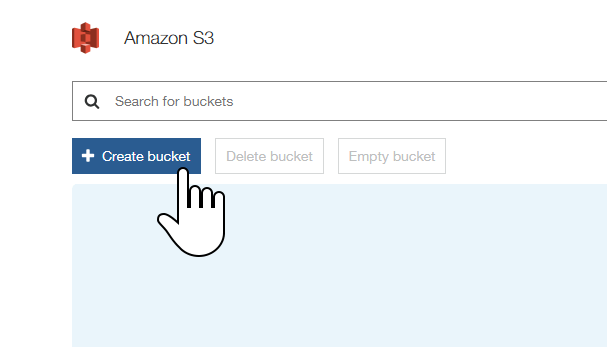
From the services dashboard, search for S3 under AWS services, and select S3 from the results.
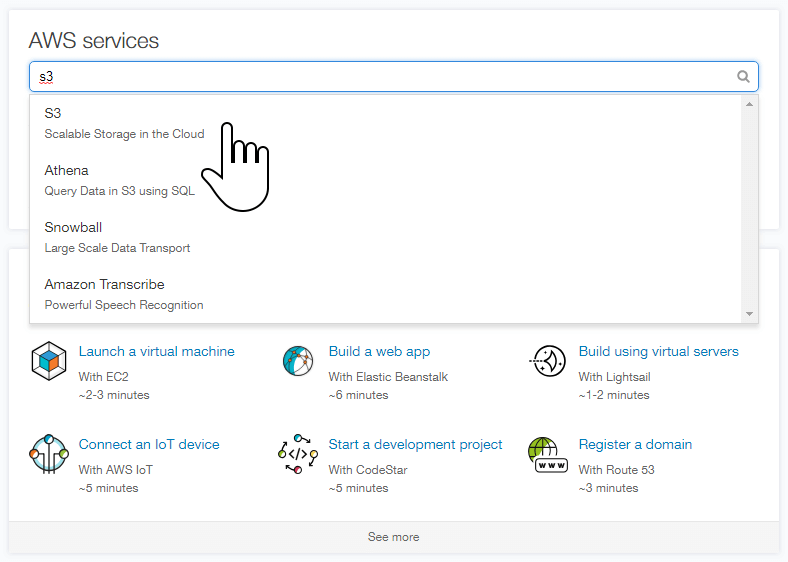
Step 2: Create a storage bucket
Click Create bucket to start the setup wizard.
Name your bucket and select a Region
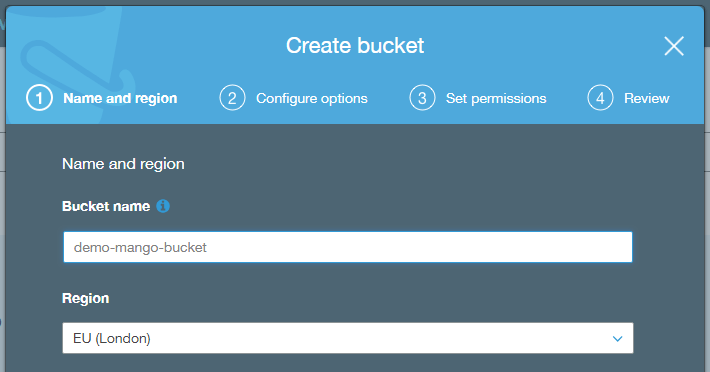
Bucket name
Give your bucket a name this is unique and meaningful to you - what will you store in this bucket? The bucket name is used to create the URL, so URL rules apply - no spaces, no fancy characters. If you want to use several words, add a dash between each.
Region
Choose a Region that’s close to you and your map's users. Don’t pick a São Paulo if you’re in France.
The simple way to think of Regions is it’s the location your data is stored. Amazon has Regions across the globe, with Availability Zones in each region that keep your data accessible, even in the event of issues at one or more data centres. If you'd like to dive deeper, you can learn more about Regions in this AWS help guide: Regions and Availability Zones.
Copy settings
We can ignore this one.
Click Next.
Configure options
Tagging, versioning, logging and encryption are beyond the scope of this tutorial, so we don’t need to change any settings here and we can jump straight to the next step.
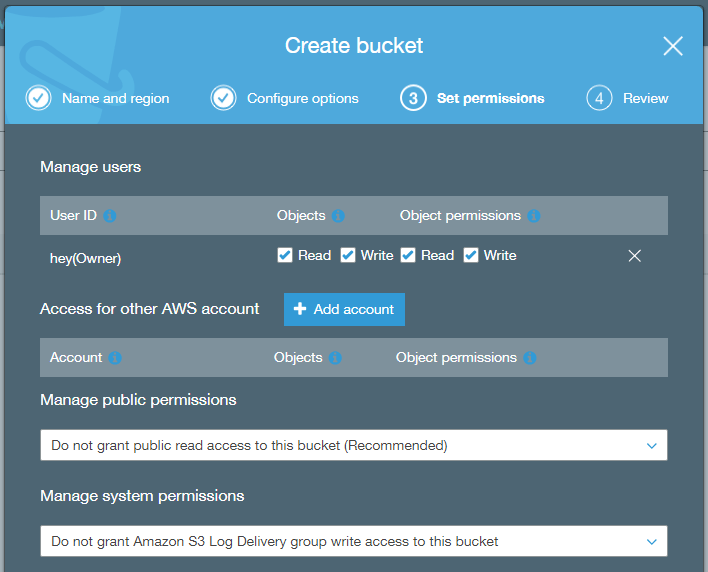
Set your bucket permissions
Manage users
We can leave this as is.
Access for other AWS account
If your organisation has multiple AWS accounts, you can explore this to provide access to other users, but for now, leave this as is.
Manage public permissions
We need the content of this bucket to be accessible to anyone, but the bucket itself doesn’t need to be, so leave this on “Do not grant public read access to this bucket (Recommended)”.
Note: Some users may see a different option, "Block public access (bucket settings)". If so, leave on the default setting: "Block all public access"
Manage system permissions
Leave as is.
Review
Once you’re happy with the bucket settings, click Create bucket.
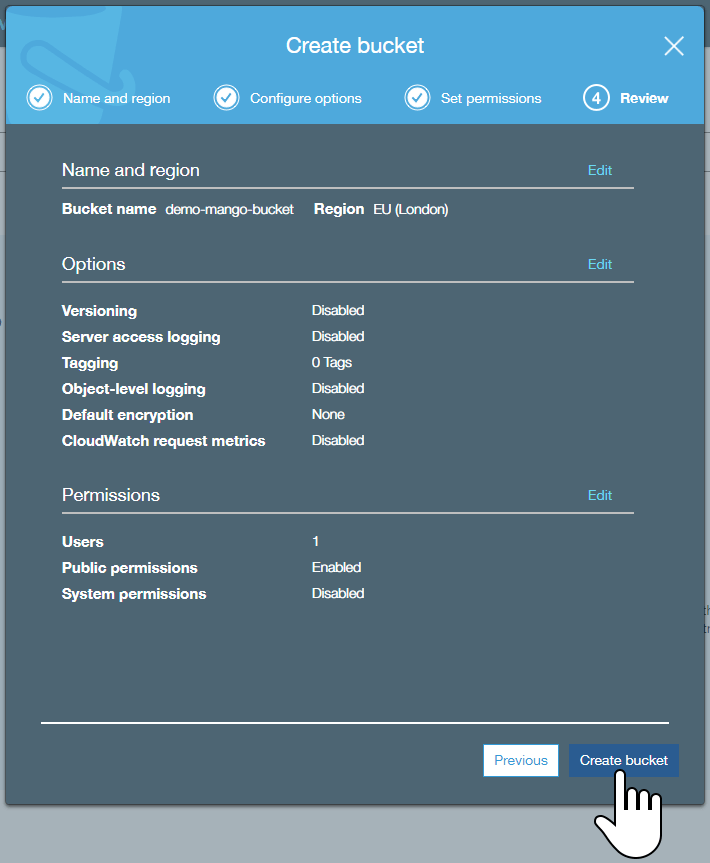
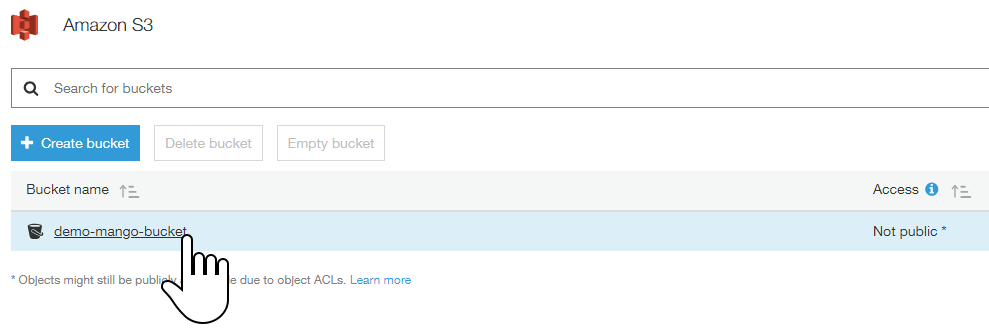
Our new bucket now appears in our bucket list.
Step 3: Create a folder in your new bucket
Open the bucket
From the list of buckets in your S3 dashboard, click on the new bucket to open it.
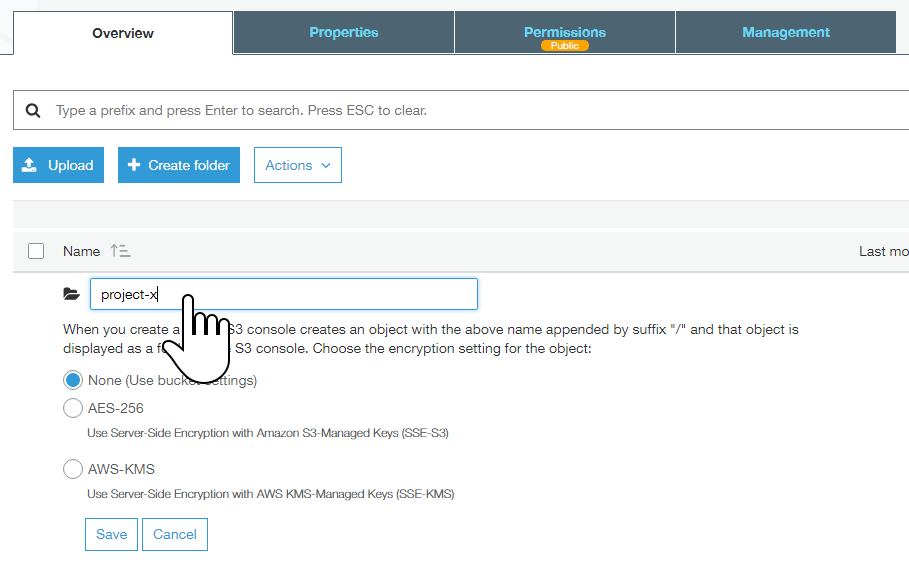
Create a folder
Create a folder, and name it. This isn’t essential - you could upload files directly to the bucket root, but to keep your resources manageable, it’s best to use folders just like you would on your PC.
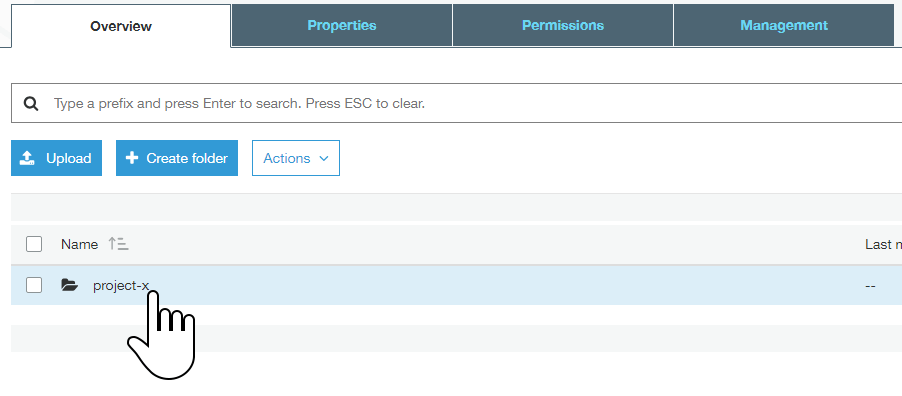
Once created, open the folder.
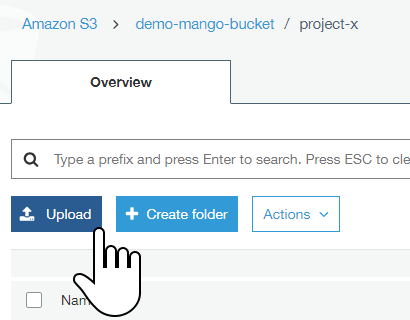
Step 4: Upload your files
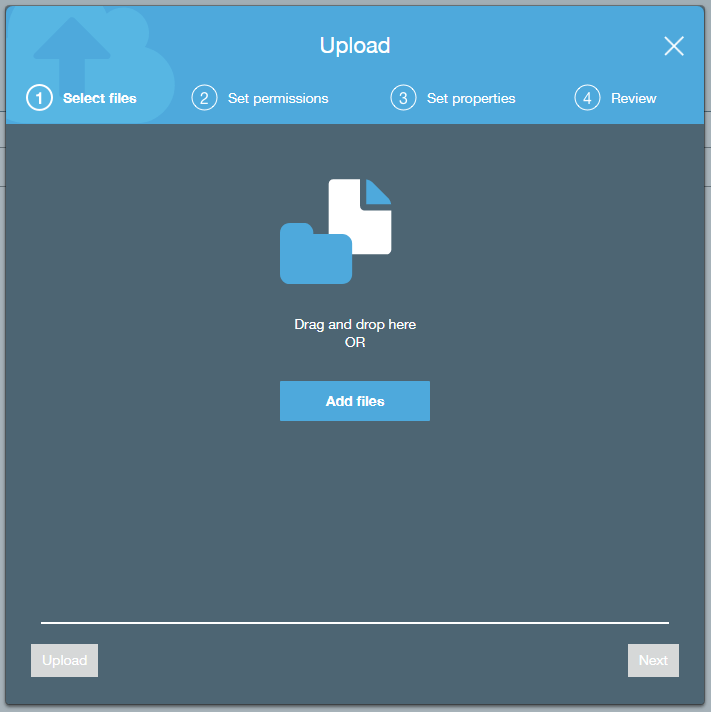
Now that we’re in the folder, click Upload to start the file upload wizard.
Select your files
Click Add files, or drag the files from your PC
Set permissions
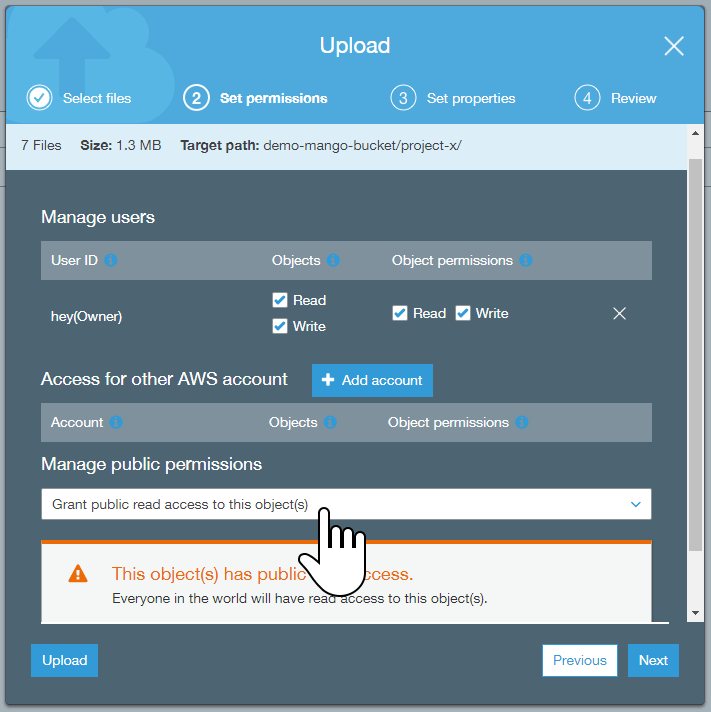
Manage users & Access for other AWS account
As with the bucket users, we can leave these alone.
Manage public permissions
The aim of hosting these images on S3 is to make them available to users of our map, so we’ll need to grant public permissions on these files.
Set this to “Grant public read access to this object(s)” so the files can be accessed, then click Next.
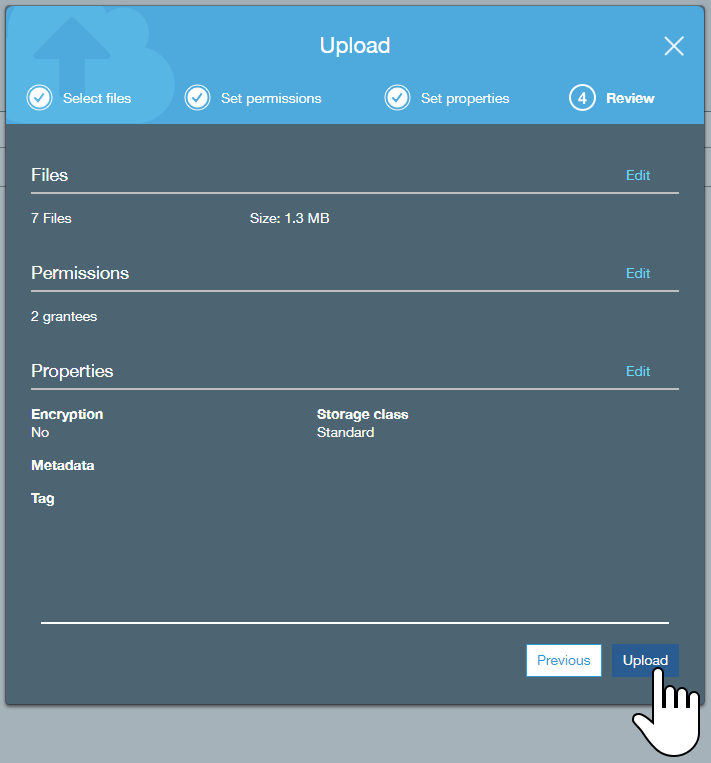
Set properties
For the purposes of this demo, we’ll use the defaults, so go ahead and click Next.
As we discussed earlier when setting up the bucket, your needs regarding encryption and tagging may vary.
Review
If it all looks good, hit that Upload button.
Step 5: Add the file paths to your dataset
Once the upload is complete, you will see your files just as if it were in your PC's file manager.
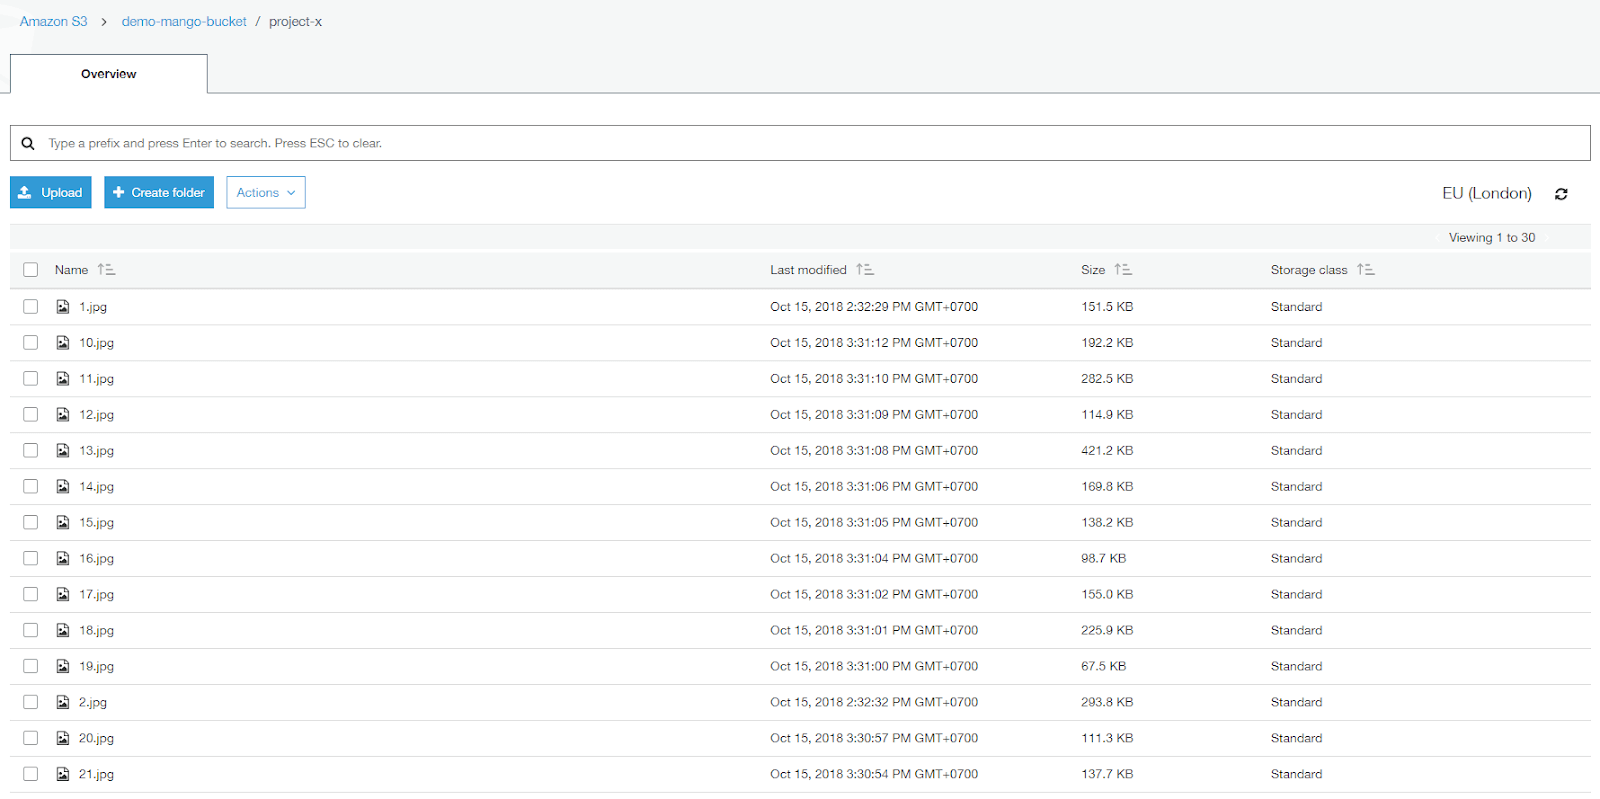
Click on one of the files to see the file properties, and then click on the Link to confirm the image loads.
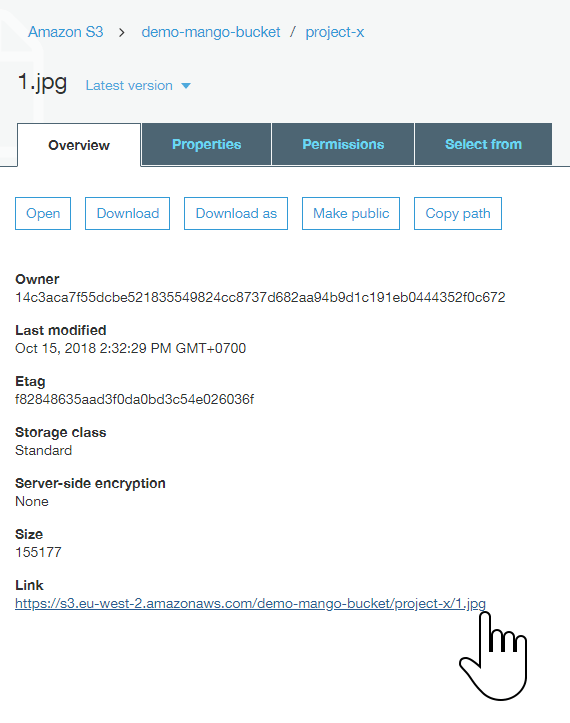
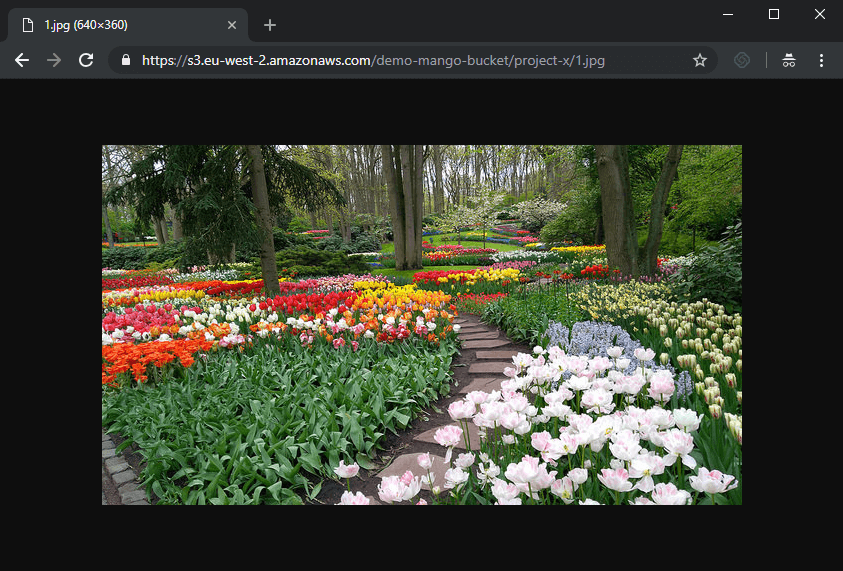
As you can see, we have our photo, and a nice, simple URL path:
https://s3.eu-west-2.amazonaws.com/demo-mango-bucket/project-x/1.jpg
In this example, the whole URL right up to the folder is static - it will be the same URL path for all images in this folder and this is exactly what we need to easily add all our image URL’s to our dataset.
I’m using the rank as the file name in the demo data - eg. 1.jpg for #1, 2.jpg for #2 - so it’s simple to add the filename to the dataset use the concatenate function to create the final URL:
=concatenate("https://s3.eu-west-2.amazonaws.com/demo-mango-bucket/project-x/",A2,".jpg")
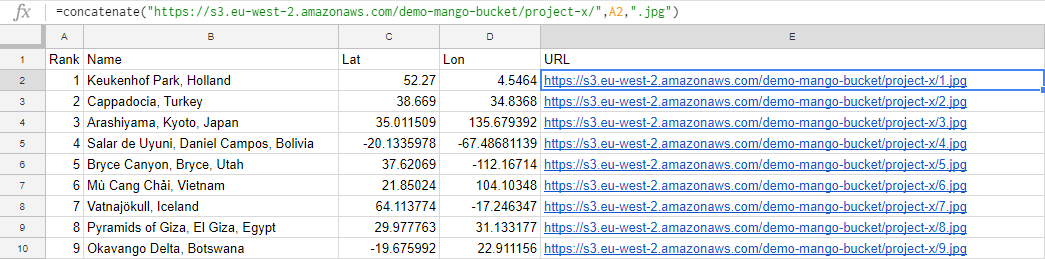
Save as CSV, and you’re ready to upload to Mango.
Step 6: Upload the dataset to Mango and create your map
Now all that’s left is to upload the dataset into Mango, and create our map.
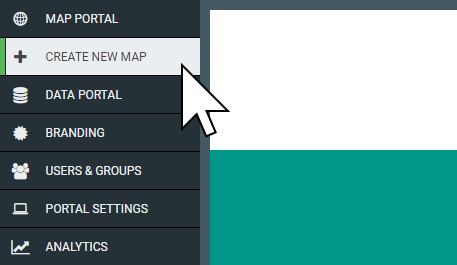
1. Press the “CREATE NEW MAP” button in your administration sidebar.
2. When your map is ready, click “LAYERS”, then click on the “Add Layer” button.
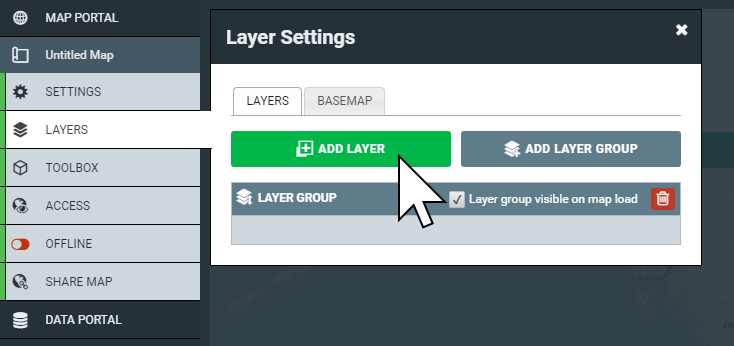
3. Now click on “Upload Dataset”
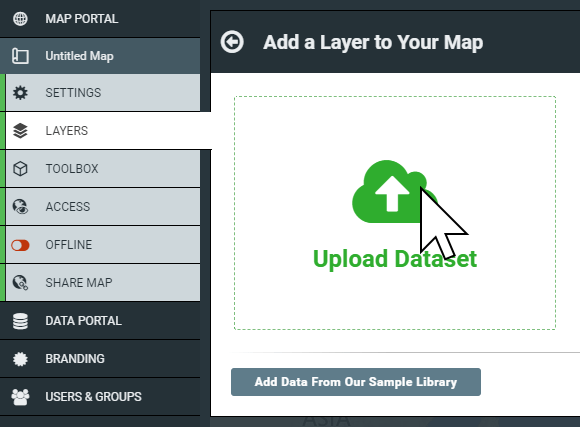
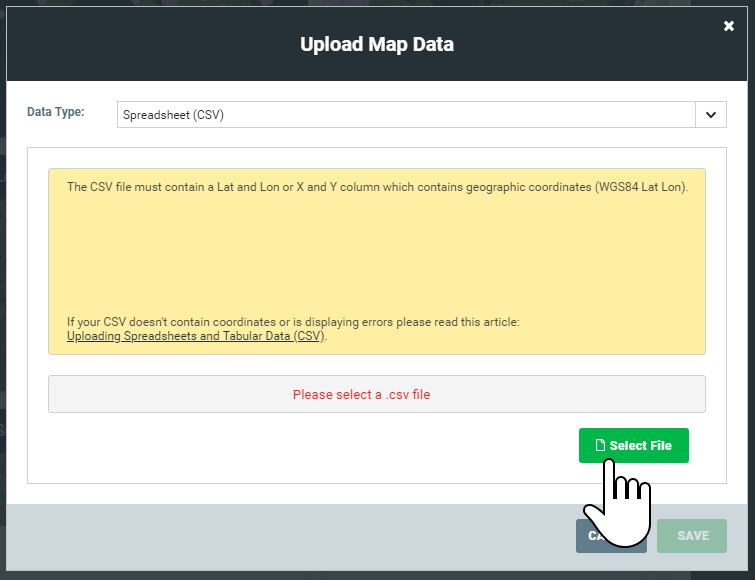
4. Here you can select the type of data you want to upload. We’ve got a CSV, let's change the Data Type to Spreadsheet (CSV) and click Select file. Select your CSV dataset, and click OK.
5. When the upload is complete, you’ll be shown the Layer Settings panel. We want to edit the feature popup, so click on the Popup tab.
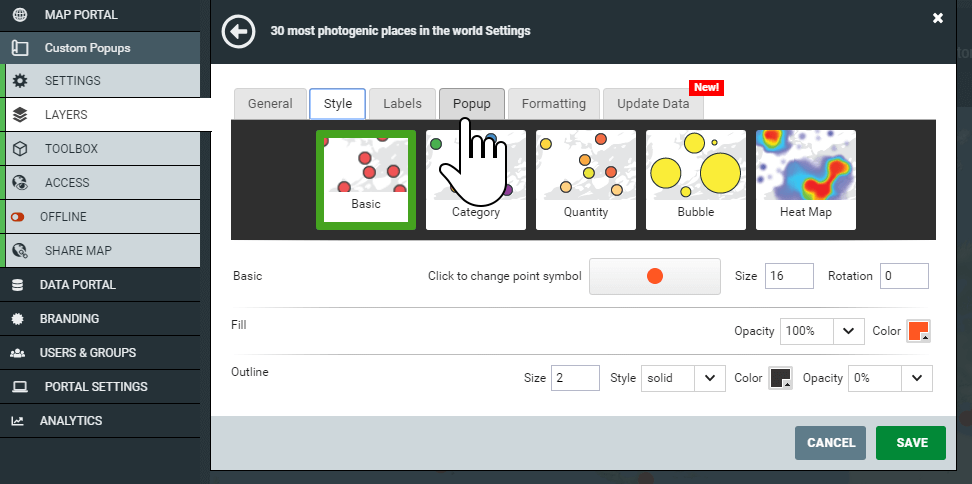
6. Select Custom to open the custom popup editor
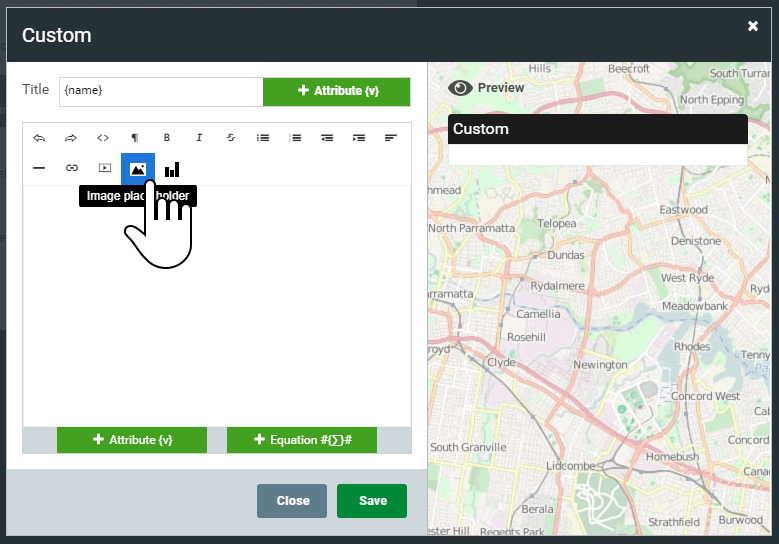
7. We're going to use the Image Placeholder to render the images from the image URL's we generated earlier.
Click on the image placeholder icon in the editor's toolbar.
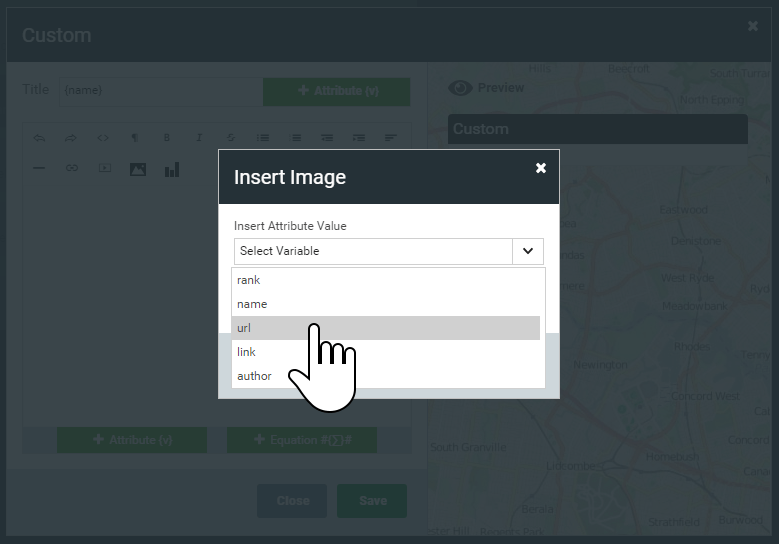
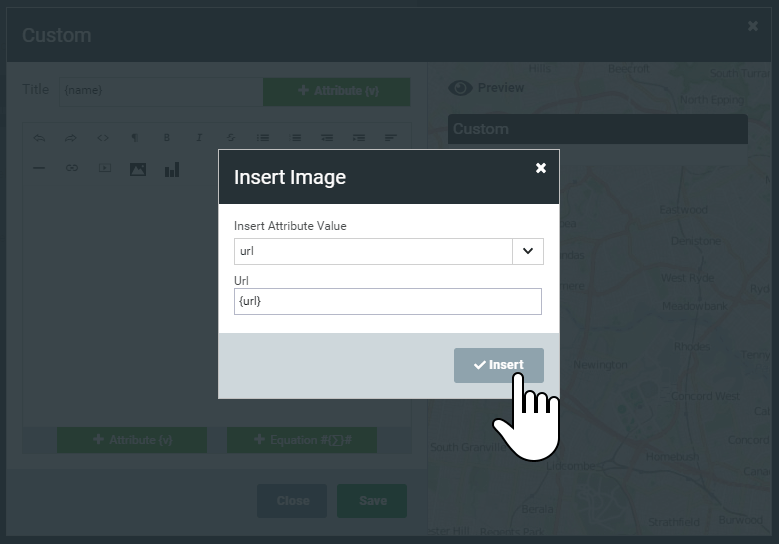
8. To render the unique image for each feature, we're going to use the attribute value tag. This will insert the value for each feature from the dataset. To do this, select the column that contains the image URL path from the Insert Attribute Value dropdown. In our example data, this is the URL column.
Then click Save.
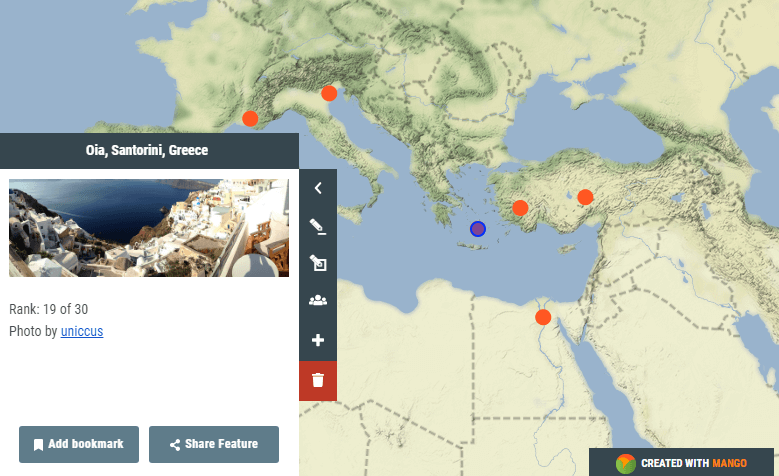
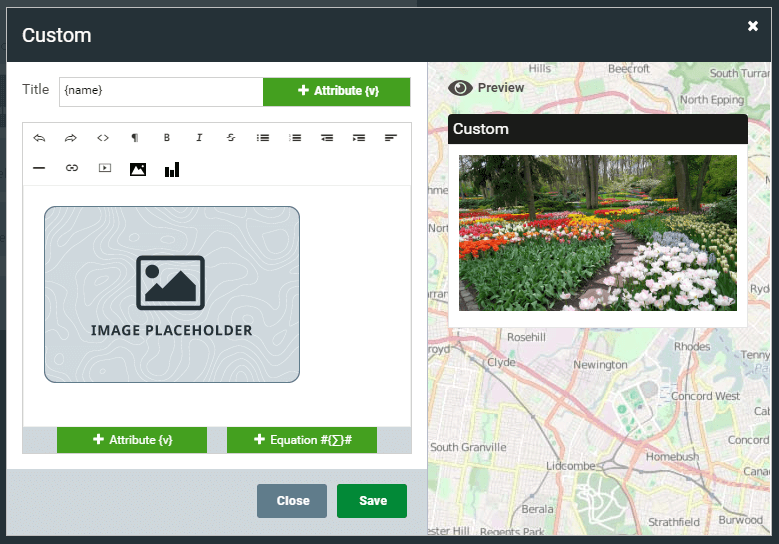
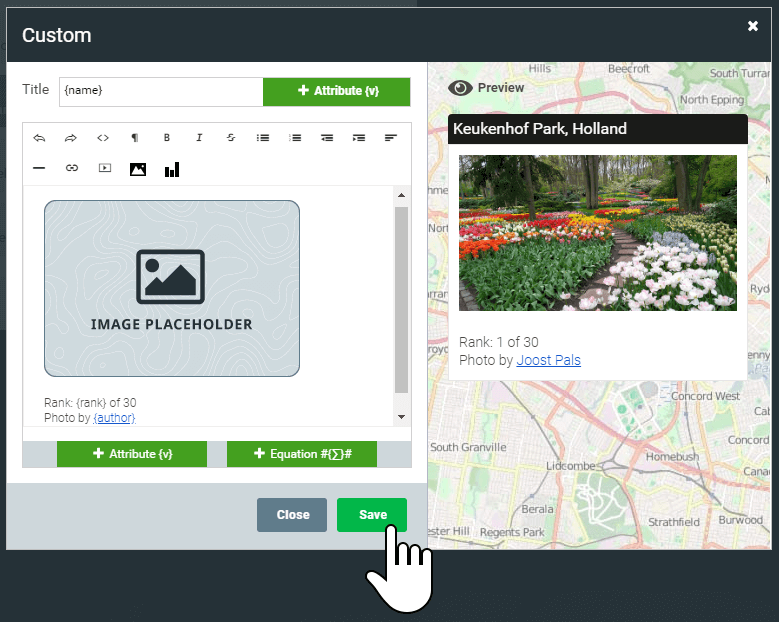
9. You will now see a placeholder image in the editor, and a preview of how the image will appear in the popup.
10. If you have other types of files in your S3 bucket, instead of creating an image placeholder, you can use a link to let your map's viewers see documents, PDF files, a sound file, or anything else.
In our dataset we have links to the sources of the images, so let's add a link to give attribution to the author.
From the toolbar, click on the link icon.
In the Attribute Value dropdown, we can see the available attributes in this dataset. We'll insert {link} in the URL field, and {author} in the text field.
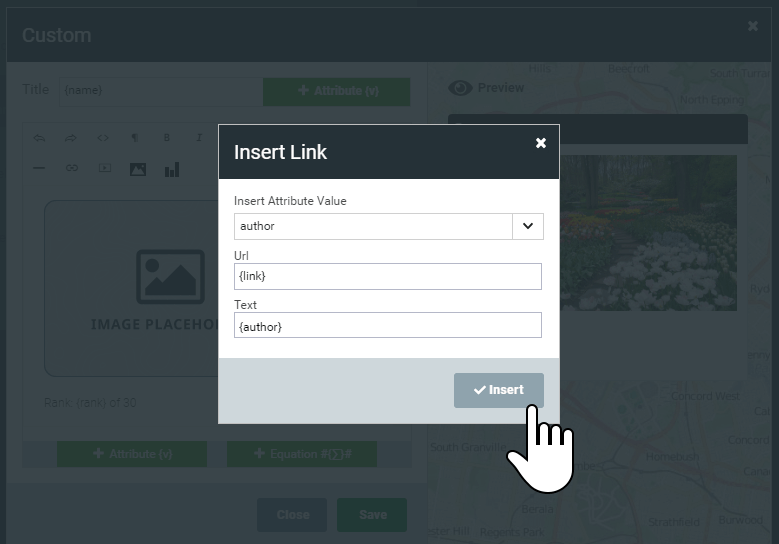
Click Insert to place the link in the popup.
11. Once you've customized your popup, click the Save button.
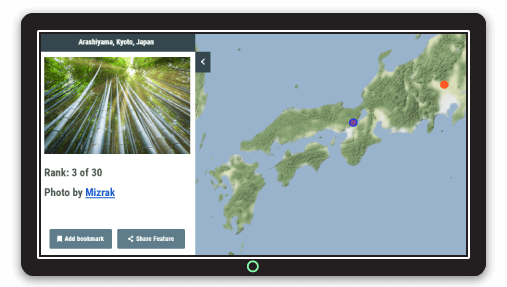
12. Now, let's see how our hard work has paid off. Click on the map markers to see the images for each load in the popup!